How to fix a kernel panic on a Mac

You’re at your favorite coffee spot, fully caffeinated, and ready for a busy day of work. Suddenly, the screen on your Mac® goes dark, and cryptic messages flood in. The problem, known as kernel panic, is common—and can seem frightening. But don’t stress out about it. At uBreakiFix® by Asurion, we know tech. From fast repairs to helping you get the most out of your devices, we’ve got you covered. Here’s a breakdown of what Mac kernel panic is, its possible causes, and some solutions to get your computer working properly again.
What is kernel panic?
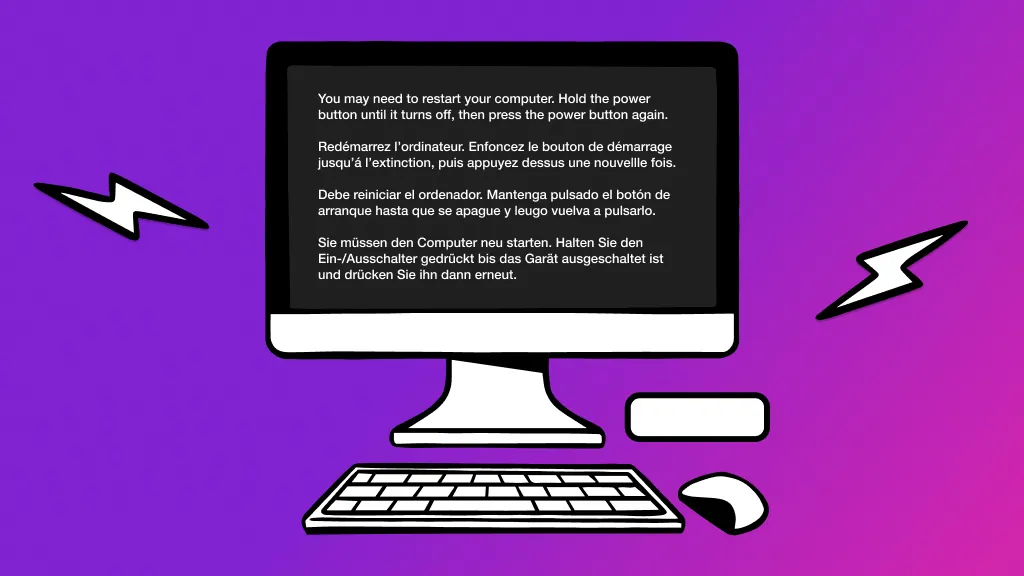
No, it doesn’t have anything to do with popcorn (or some little-known rap-rock group from the late ‘90s). Kernel panic refers to your Mac constantly restarting without reaching the Home Screen. Think of it as the Mac version of a blue screen of death.
What’s causing kernel panic?
Kernel panic sets in when your computer comes across an issue it can’t resolve on its own. The frequency of kernel panic can give you an idea of how serious the issue is: it can happen as often as every time you start up your device to only once every few weeks.
Any of the following can cause kernel panic:
- Software issues
- Outdated plugins
- Broken or incompatible hardware
- Not enough RAM or space on your hard drive

You can’t work when your computer doesn’t want to
Get it repaired fast at one of our stores. Just stop in or make an appointment⎯we'll handle the rest.
What you can do to fix kernel panic
If you're experiencing a kernel panic on your computer, it can be a frustrating issue, but there are several ways you can resolve it.
Check your crash reports
Checking your computer’s crash reports can point you in the right direction—especially if this problem happens often. Here’s how you see those reports:
- From the Finder, go to Applications and open Console.
- Click Crash Reports from the sidebar.
- Look for “terminated due to” or “reason: failed because” to see what caused the error messages.
Disconnect your accessories
An incompatible external hard drive or another accessory could be to blame if your computer only restarts when connected.
Disconnect all devices except for your Apple® keyboard and mouse. Then, try restarting your Mac. Re-connect your items one at a time, and restart the Mac as you go to help figure out which accessory is incompatible.
Put your Mac in Safe Mode
Kernel panic can keep your Mac from fully booting. To get around this, use Safe Mode to force your Mac to use only its essential programs and files.
- Shut down your Mac completely (do not restart it). Then, wait about 10 seconds.
- Press the Power button to turn it on, then press and hold the Shift key.
- Release the Shift key when the login window appears.
- You should see “Safe Boot” in the menu bar. Then, log in to your Mac.
Update your Mac
With your computer in Safe Mode, updating your macOS® software will be your next step. Having the most recent software and app updates makes sure your Mac can handle any known issues that might be causing kernel panic.
To update your Mac software:
- With your Mac connected to its charging cable, click the Apple menu > System Settings (or System Preferences) > Software Update. Depending on your software version, you’ll have to select General, then click Software Update.
- If an update is available, click Upgrade Now.
To update your apps:
- Open the Apple menu.
- Click App Store > Updates, then install any available updates.
Restart your Mac to get out of Safe Mode.
Remove plugins
If you recently updated your computer, programs that worked in the past may no longer be compatible. For example, the latest version of Safari doesn’t work if plugins—software that adds specific features to a program or app—are active. Try removing recently installed plugins to see if your Mac goes into kernel panic mode again.
To remove plugins from Safari:
- Open Safari.
- Choose Safari > Preferences.
- Open the Extensions tab. From here, you can manage your extensions and plugins.
To remove plugins from Chrome:
- Open Chrome.
- Type “chrome://extensions” in the address bar and press Enter.
- From here, you can see all of the installed extensions and plugins. You can turn them off or remove them altogether.
If you've tried these steps and still need a little help, we're right around the corner. Schedule a repair at the nearest uBreakiFix® by Asurion store and our certified experts can get your device back up and running as soon as the same day.
The Asurion® trademarks and logos are the property of Asurion, LLC. All rights reserved. All other trademarks are the property of their respective owners. Asurion is not affiliated with, sponsored by, or endorsed by any of the respective owners of the other trademarks appearing herein.